Someone who was unable to attend the live Zoom meeting may find it useful to record the meeting. It’s also a terrific method to refresh your memory by watching it again afterward. While Zoom allows you to record your screen, it is only available to the host and other people will find it difficult to capture the important moments.
Fortunately, a third-party screen recorder for PC can help record Zoom meetings without permission. It’s easy to use, effective and allows you to record the screen with audio.
There are many screen recorder programs in the market to choose from for different recording tasks at work or for fun. Our favorite is iTop Screen Recorder, which allows you to record your screen for free.

How to use iTop Screen Recorder to record Zoom meetings?
The software is compatible with all versions of Windows OS and includes a desktop app with a plethora of useful features. Here’s how to use iTop Screen Recorder to record your screen.
Step 1: Download the install the free software
Download the most recent version of iTop Screen Recorder from the official website. To get the installer, click the Free Download option. After that, select the installation directory and install the software by clicking on the installer.
Step 2: Begin your Zoom meeting
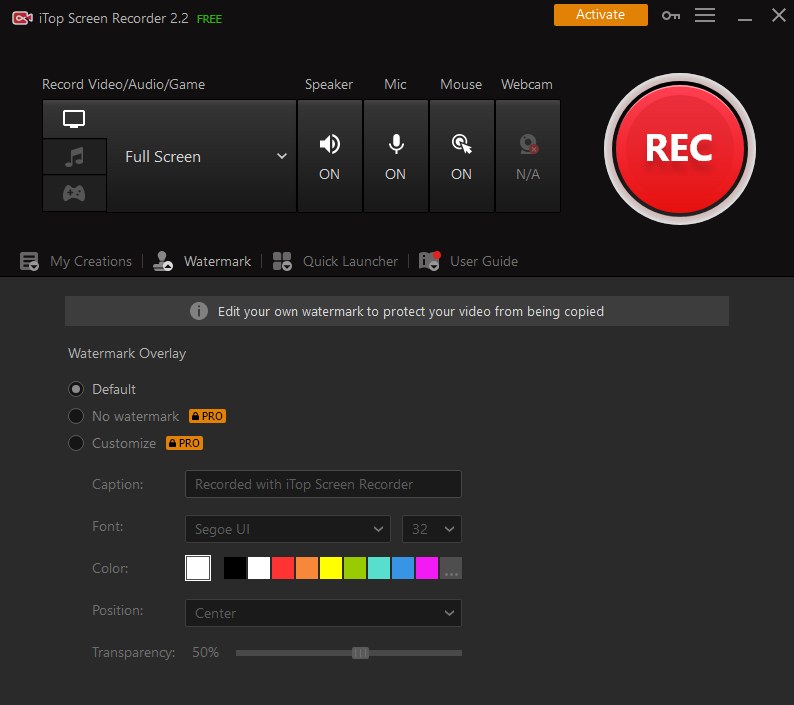
Launch the Zoom app from the iTop Screen Recorder’s quick access for YouTube, Zoom, Twitch and Spotify. Select the settings you’d want to record now. This covers the size of your screen, speaker, microphone, and webcam.
Step 3: Draw the recording
You can use the built-in drawing tool to draw the recording, including taking notes, and annotating with a rectangle, oval, line, arrow, etc. to make the recording to be more effective.
Step 4: Take a screenshot of the screen
To begin recording, press F9 on your keyboard or click the REC button. To stop recording, either click the same red button or press F11. The Zoom meeting will be saved locally on your computer.
Step 5: Edit the video and share
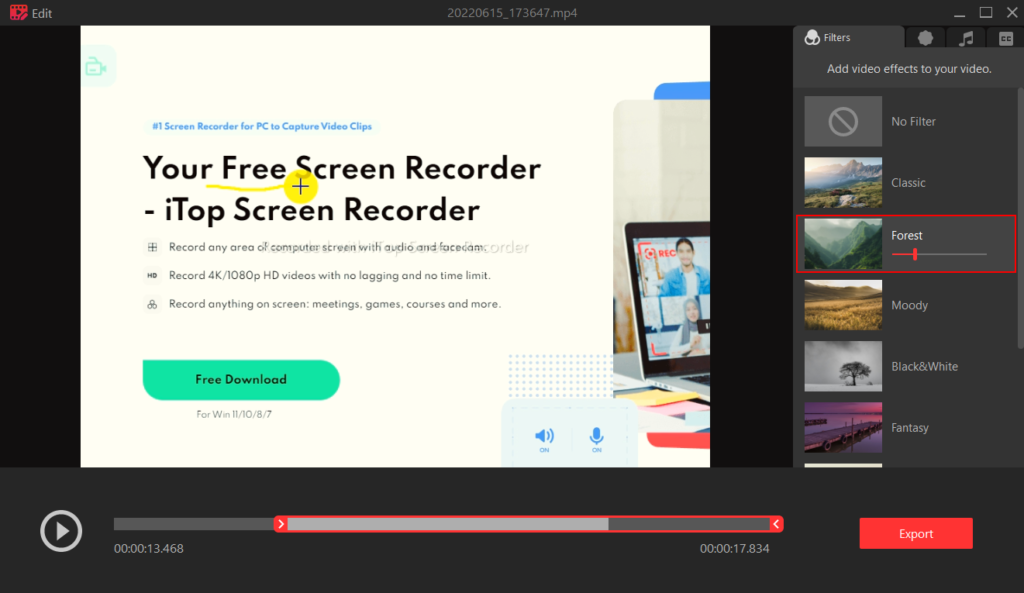
The recorded video are in My Creation tab, where you can save, edit, and remove recorded videos from your computer. You can cut the video and keep it to any length, add a BGM, filters, subtitles and one-click upload to YouTube to share.
Remember that the free version has a default watermark on the video and you have to pay the Pro version to remove it and add your custom watermark.

How to record Zoom Meetings online?
iTop Screen Recorder has a free online recorder for users to record without downloading and installing the desktop app. It’s a free web recorder to launch in your browser and can record the screen and audio. Note the online recorder has a 5-minute recording limit yet to be unlimited time in the desktop app.
Step 1: Launch the online screen recorder on the iTop website.
Step 2: Press the Start Recording button and configure the recording.
Step 3: Select the audio parameters and click the Next button after selecting the recording name.
Step 4: Now you can choose the screen size or the application window that you want to use.
Step 5: To begin recording, press the Record button.
Step 6: Press Stop to end the recording and save the video to your local device.
Conclusion
Recording your screen is a fun and easy method to break up a long video into chunks. After the pandemic, Zoom sessions are becoming more in-line, thus it’s crucial to maintain track of your progress. iTop Screen Recorder is a free and excellent tool for showing how to simply record Zoom meetings, draw the recording and edit the video in the easiest way. All you have to do now is download the app and start recording.