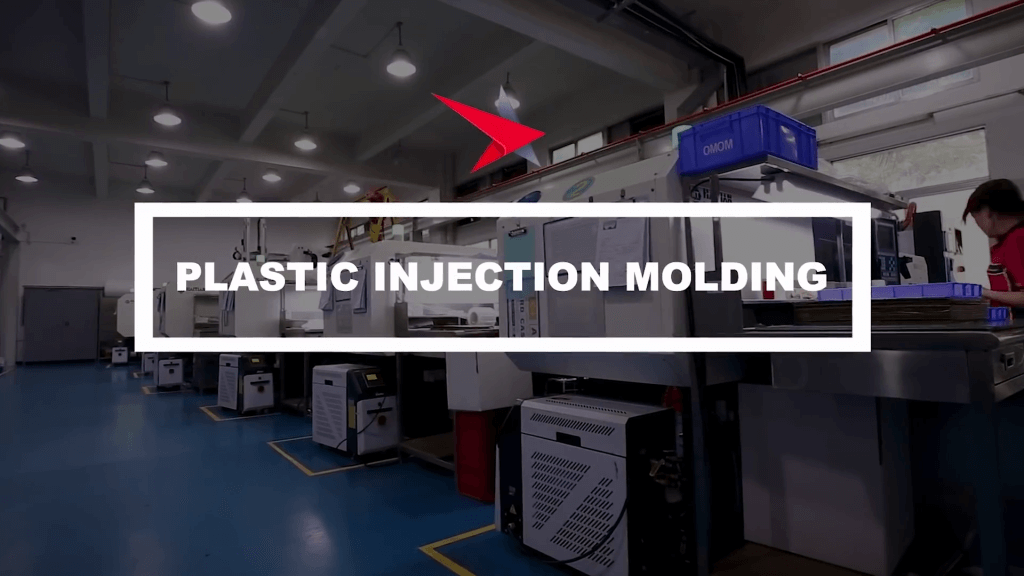
Plastic injection molding is a wonderful manufacturing process. The injection molding machine forces molten plastic into a mold cavity, where the plastic cools and hardens. Then you pop out your new product! However, there are some common plastic defects that can occur during this process. Here is the listicle describing the 10 most common ones:
“Lines on molded parts.”
Sometimes, the plastic cools too slowly or unevenly inside the mold. This can cause lines to form on top of one another, creating an undesirable striped effect on your product.
How to prevent it
Ensure that the mold is properly sized for your material. Use a cooling system to cool the plastic quickly and evenly.
“Voids in molded parts.”
If there are imperfections on either side of the mold, extra space is left when the part hardens. This causes voids inside of the part that you cannot use!
How to prevent it
Be sure to clean both sides of the mold before use. Ensure that your clamping system applies even pressure to both halves of the mold.
“Uneven wall thickness.”
This occurs when the plastic cools too quickly or unevenly on one side of the mold, causing it to harden faster. When this happens, too much material builds up on one side of your product, leaving an undesirable bulge.
How to prevent it
Ensure that your plastic material melts at a uniform rate each time. Make sure that the product is cooled evenly, and check the temperature of your tooling often by conducting heat checks on random parts.
“Flash.”
This happens when excess plastic leaks from between two halves of molds as they come together. It can happen due to inadequate clamp force, misaligned ejection slides on the mold blocks, excessive draft angles on part geometry, or improper tooling layout.
How to prevent it
Make sure that you are using the correct clamp force for your product. Pay attention to alignments and layouts of parts in order to reduce the chance of misalignment between molds.
“Inclusions in molded parts.”
Sometimes, when the plastic resin is injected into the mold, small pieces of debris or other impurities from inside of the machine make it to the part. This makes your part unfit for use!
How to prevent it
Make sure that all the parts of your injection molding machine are in place and working. Make sure it’s clean!
“Trash in molded parts.”
If a piece of trash finds its way into your machine, it can get pressed into your part during the molding process. This leaves an unsightly mark where the trash used to be, making your part unusable.
How to prevent it
Make sure that there is no trash in your injection molding machine before you start. Also, consider investing in a filter for the plastic resin to prevent larger particles of anything from making its way into your machine.
“Shrinkage in molded parts.”
This occurs when a product cools unevenly because of a lack of sufficient cooling time or heat input. One side will cool first, and the other will try to stretch as it cools—causing unwanted stress on your part.
How to prevent it
If you are making a variable-geometry consumer product (something that is different in cross section) split your mold to allow for all sections to receive equal cooling time.
“Flow lines in molded parts.”
When you don’t use enough injection pressure for your plastic resin, some of it may flow into places that were not meant to contain plastic. This creates a visible stripe where all this “extra” plastic is settled.
How to prevent it
Use proper injection pressure for your plastic resin.
“Gate location in molded parts.”
These are tiny areas along your molding machine’s gate (where it used to be attached to the machine). When normal amounts of pressure aren’t applied properly at the beginning of injection, you can get voids like this. It’s like a small hole–but worse!
How to prevent it
Apply proper injection pressure for your plastic resin.
“Burn marks.”
Unexplained lines or discoloration on the outside of parts are called burning, and it happens due to too much friction between your mold’s components, which can be caused by less than optimal lubrication. The friction heats one component before transferring its heat to another, which then gets more heat transferred to it, and so on. This will almost always cause visible discoloration or lines on the finished part.
How to prevent it
Lubricate your molds properly.
Conclusion
The most common plastic injection molding defects can be easily prevented by using proper lubrication and applying appropriate pressure. Make sure your machine is calibrated for this kind of plastic.
Thanks for reading!