Can you insert an image into a PDF file? When you are required to add a logo, a signature picture, or some other photos in a PDF file, a PDF editor is quite necessary. This post introduces 3 good-to-use PDF editors including desktop software and online tool: SwifDoo PDF, Adobe Acrobat, iLovePDF. Find out how to insert an image into a PDF file easily.
How to Insert an Image into a PDF File with SwifDoo PDF

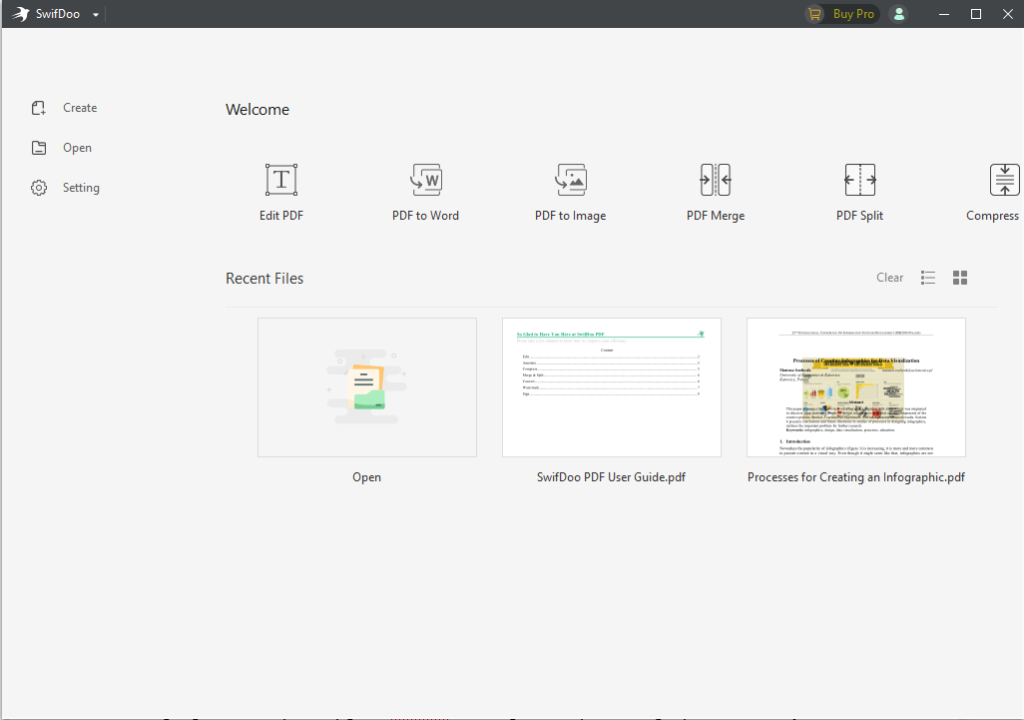
SwifDoo PDF is an all-in-one PDF editor available on Windows. It’s also characterized by an intuitive user interface, quick response and robust features. Within SwifDoo PDF, users can add images, watermarks, stamps and signatures to a PDF file in a simple way. In addition, SwifDoo PDF can help users convert and annotate PDFs efficiently. Here comes a step-by-step guide to insert an image into a PDF file with SwifDoo PDF.
Step 1: Launch SwifDoo PDF. Drag and drop your PDF file into the interface.
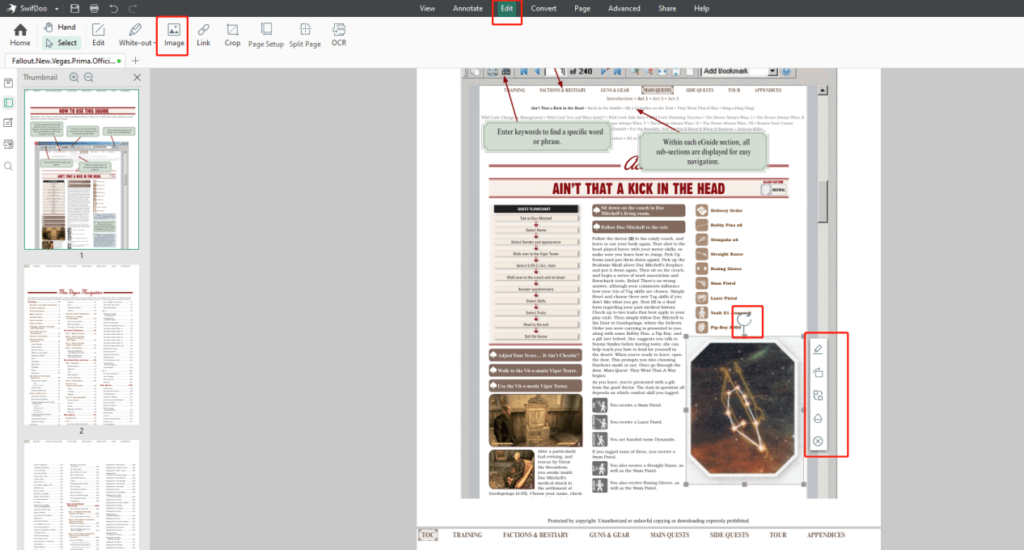
Step 2: Click Edit on the top toolbar. Choose Image in the sub-menu.
Step 3: Locate the image that you are to insert and double-click the image in the pop-up window. The selected image will appear on the current PDF page.
Step 4: Move your cursor on the page and hit a place where you want to add the image.
Step 5: Click the image, then drag a bounding box handle or corner to resize the image. Click the clockwise arrow icon to rotate the image. Hit more icons on the right toolbar of the image to further edit.

Step 6: Click SwifDoo on the top left corner of the program and choose Save as in the drop-down menu. If you want to keep the original PDF file, please don’t forget to save the modified PDF file as a new one and rename it.
SwifDoo PDF makes it easy to place images, texts, links and other objects in PDF files. Any Windows users should not miss this budget-friendly software. You can freely download SwifDoo PDF and try using it to insert some images.
How to Insert an Image into a PDF File with Adobe Acrobat
Adobe Acrobat is probably the most well-known PDF editor. The Portable Document Format (PDF) technology is developed by the co-founder of Adobe Inc., Charles Geschke. Acrobat is a comprehensive PDF product for editing and managing PDF files. Check how to insert an image into a PDF document by Adobe Acrobat.
Step 1: Open Adobe Acrobat on your computer, and import the PDF file that you want to place an image into.
Step 2: Click Tools on the toolbar. Choose Edit PDF in the drop-down list and click on the Add Image button.

Step 3: In the pop-up window, select the target image you need to insert.
Step 4: After the image is imported, hit an area where you are to add the image.
Step 5: Drag a bounding box corner and handle to resize the image. You can click other tools on the right side of the image to further edit.
The guide is applicable to Adobe Acrobat 2017, Adobe Acrobat 2020 and Adobe Acrobat DC.
How to Insert an Image into a PDF File with iLovePDF
iLovePDF might be the best web-based PDF editor for addressing PDF issues. Users are able to free edit, compress and convert PDFs online in a browser. Get to know how to insert a picture in a PDF file with iLovePDF.
Step 1: Search iLovePDF in a browser and click into its web page.
Step 2: Click the ALL PDF TOOLS on the top menu bar and choose Edit PDF. A new page appears.
Step 3: Click Select PDF file on the new page to upload your PDF file.
Step 4: Hit the image icon under the top menu bar to add an image.

Step 5: Drag a corner of the bounding box to resize the image. Move the image to an appropriate area.
Online iLovePDF only allows users to rotate the image at certain angles, and to choose a transparency percentage such as 25%, 50%. Thanks to its wealthy tools and instant processing speed, iLovePDF might be ranked top among online PDF editors.
All the 3 PDF editors enable users to insert an image into a PDF document easily. Aside from that, they allow users to convert and compress PDFs. If you desire to get rid of complicated PDF issues, or you want a substitute for your existing editor, try them.