Have you ever been tapping away at your iPad or iPhone, only to realise that you’ve accidentally swiped or tapped something into oblivion?
We all know that sudden rush of panic that we experience when we’ve realised what we’ve done and that sudden sadness that it’s gone forever. However, no longer is this the case.
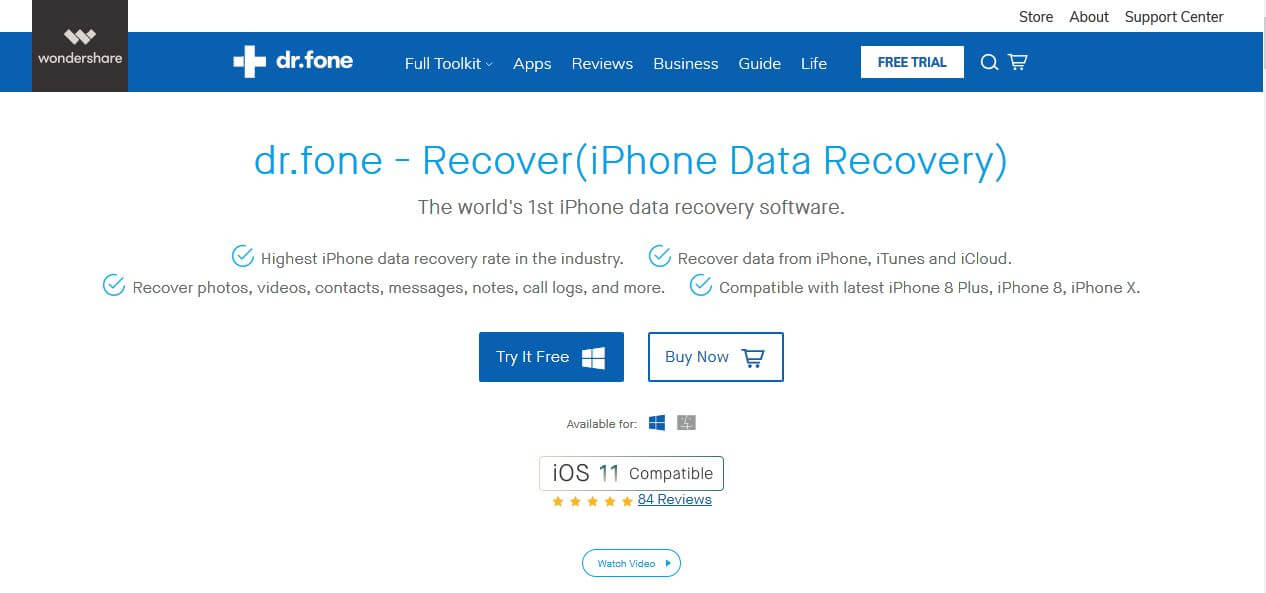
From the multiple award-winning developers over at Wondershare comes dr.fone – Recover (iOS), one of the most increasing popular iPhone data recovery solutions in the world.
Today, we’re going to explore the ins and outs of what makes this iPhone data recovery software tick, so you can find out whether or not it’s the right software for you.
The Lowdown
Let’s start with what dr.fone – Recover (iOS) has to offer.
The software can be downloaded to either a Mac or Windows (32 & 64 bit) computer. Once you’ve installed the software and connected your device, you’ll be able to access a tonne of potentially lost files.
Dr.fone – Recover (iOS) supports all kinds of file types, including:
- Contacts
- Text messages
- Call history logs
- Notes
- Photos, videos and documents
- Voicemails
- Bookmarks
- Apps and app media (photos, video, documentation)
As you can see, with dr.fone – Recover (iOS), you’ll never have to worry about deleting anything on your device as you can simply plug it in to have it back. What’s more, there’s even a trial version available so you can see for yourself whether this is the software for you.
Furthermore, it doesn’t matter what kind of iOS device you have; whether it’s the latest iPhone X, all the way down to the iPhone 4 and iPhone 5, you can still recover your files in the same way.
The same can be said to iPad tablets, ranging from the iPad Pro all the way through to the traditional iPads. You can even restore files on your iPod Touch!
How to Recover Data from iPhone Using dr.fone – Recover (iOS): A Step-by-Step Guide with Screenshots
I could talk about my experience with the software but the fact that Wondershare has refined the recovery process to just three simple steps. So, it’s best just to share with you how effortlessly using the software is.
Note: Before carrying out this process, you’ll want to make sure automatic syncing is off on your computer. Otherwise, the lost data may be overwritten.
You can do this by heading into your iTunes application and clicking Preferences > Devices and then check the ‘Prevent iPods, iPhones, and iPads from syncing automatically’ box.
Step #1 – Setting Up dr.fone – Recover (iOS)
Head over to the dr.fone – Recover (iOS) website and choose your download preferences. Here you can choose to purchase the software straight away, or to download the feature-limited trial version. 
Once downloaded, double-click the package to install it onto your computer. You can follow the on-screen instructions on how to do this successfully.
Step #2 – Scanning For Your Lost Files
Connect your iOS device using your lightning or USB cable to your computer and then open the dr.fone – Recover (iOS) software. The software should instantly recognise your device, as should your computer.
You may need to accept the ‘Trusted Computer’ notification that pops up on your device if you have never connected your device before.
In the software, click the ‘Recover’ option.

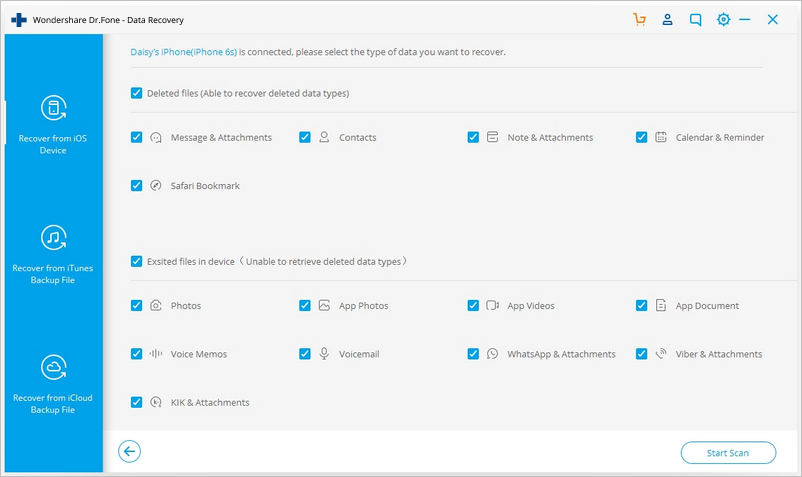
In this next window, you’ll have the ability to choose from all kinds of different file types, depending on what you want to recover. You can choose as many or as few as you like, it solely depends on what you need. 
When you’ve selected the file types that you want to restore, click ‘Start Scan’.
Step #3 – Recover Files to Computer
While the software is scanning for lost files, you’ll see a preview of the files appear in the window. The scan should only take a few minutes, depending on how much data you’re searching through, but you can pause the scan at any time if you see what you’re looking for. 
When the scan is complete, filter through your results using the search bar or the categories on the left-hand side. Go through the files and tick the boxes of the data files you want to recover.
When you’ve found everything you’re looking for, click the ‘Recover to Computer’ button and all your data will be saved! You can now transfer it manually or use iTunes back to your device.
dr.fone – Recover: The Complete iOS Toolkit
From the home screen of dr.fone – Recover (iOS), you’ll notice there are other options to choose from, including Repair, Erase, Unlock and Switch. These are all features that you’ll have access to alongside the Recover functions.
Dr.fone prides itself on being one of the most complete iOS device data management platforms in the world, and it’s safe to say that you’ll never need anything else.
In fact, you can even use the software to Backup and Restore your device, hard factory reset it and even Repair your iOS version, all without using the iTunes software. This is ideal for those of us who don’t particularly get on with using iTunes, or it simply won’t work for our devices.
The Dr.Fone iPhone data recovery software takes us step-by-step through every process you need so you’re never lost and never at risk of damaging your device or its operating system, a common problem if you’re trying to carry out the same processes manually.
The Takeaway
It’s safe to say that dr.fone – Recover (iOS) is one of the most fully-featured and comprehensive iOS data recovery and management tools currently available. It’s no wonder that so many people are trying it out for themselves.
With a free trial available and universal compatibility with all your devices, what’s stopping you from trying it out for yourself today?
I am extremely impressed along with your writing abilities, Thanks for this great share.